Pipe SlashID Data to a Snowflake Sink
Follow this step by step guide to allow SlashID to stream data to your Snowflake instance.
First, you will create a Snowflake service account, grant it the required permissions to read your data and generate a RSA key pair which allows SlashID to interact with Snowflake on your behalf. Second, you will use the details of your new service account to configure the integration in the SlashID Console.
Step 1: Create RSA key pair
- Open a terminal window and create an unecrypted RSA private key using
openssl:
openssl genrsa 2048 | openssl pkcs8 -topk8 -inform PEM -out rsa_key.p8 -nocrypt
The command generates a file containing a RSA private key formatted in PEM format:
-----BEGIN PRIVATE KEY-----
MIIE6T...
-----END PRIVATE KEY-----
Keep the private key safe, you will need to enter it in the SlashID Console later.
- From the command line, create a RSA public key using
openssl:
openssl rsa -in rsa_key.p8 -pubout -out rsa_key.pub
The command generates a file containing a RSA public key formatted in PEM format:
-----BEGIN PUBLIC KEY-----
MIIBIj...
-----END PUBLIC KEY-----
Step 2: Create Snowflake service account
Log in to your Snowflake account.
From the menu on the left, select 'Projects' > 'Worksheets'.
Using the '+' button on the top right corner, create a new 'SQL Worksheet'.

- Copy and paste your RSA public key in the command below and run it in the SQL Worksheet in Snowflake:
CREATE USER SLASHID_IDENTITY_PROTECTION
RSA_PUBLIC_KEY = '[YOUR_RSA_PUBLIC_KEY]'
Select a role that has permissions to create users and the target
warehouse. Click on the button with the play symbol in the top right
corner to run the query to create a service account user without a
password. If successful, you should see the message: User
SLASHID_IDENTITY_PROTECTION successfully created.
Step 3: Grant permissions
- In a new SQL Worksheet, run the following command to grant the required permissions to your new service account:
GRANT ROLE ACCOUNTADMIN TO USER SLASHID_IDENTITY_PROTECTION
If successful, you should see the message: Statement executed successfully.
Step 4: Obtain Snowflake account identifier
Go to Snowflake's login page and choose your account but do not log in.
Note the domain in your browser URL bar: it follows the format
{LOCATOR.REGION.PLATFORM}.snowflakecomputing.com. Copy the text that appears before.snowflakecomputing.com, we call this your snowflake account identifier. You will need to enter it in the SlashID Console later.
Step 5: Create Snowflake table
Create a new table in your Snowflake instance that the service account can write to.
The table must have at least these columns:
| Name | Type |
|---|---|
CREATE_TIME | int |
ACTIVITY_NAME | text |
CONFIDENCE | text |
SEVERITY | text |
DESCRIPTION | text |
RAW_PAYLOAD | text |
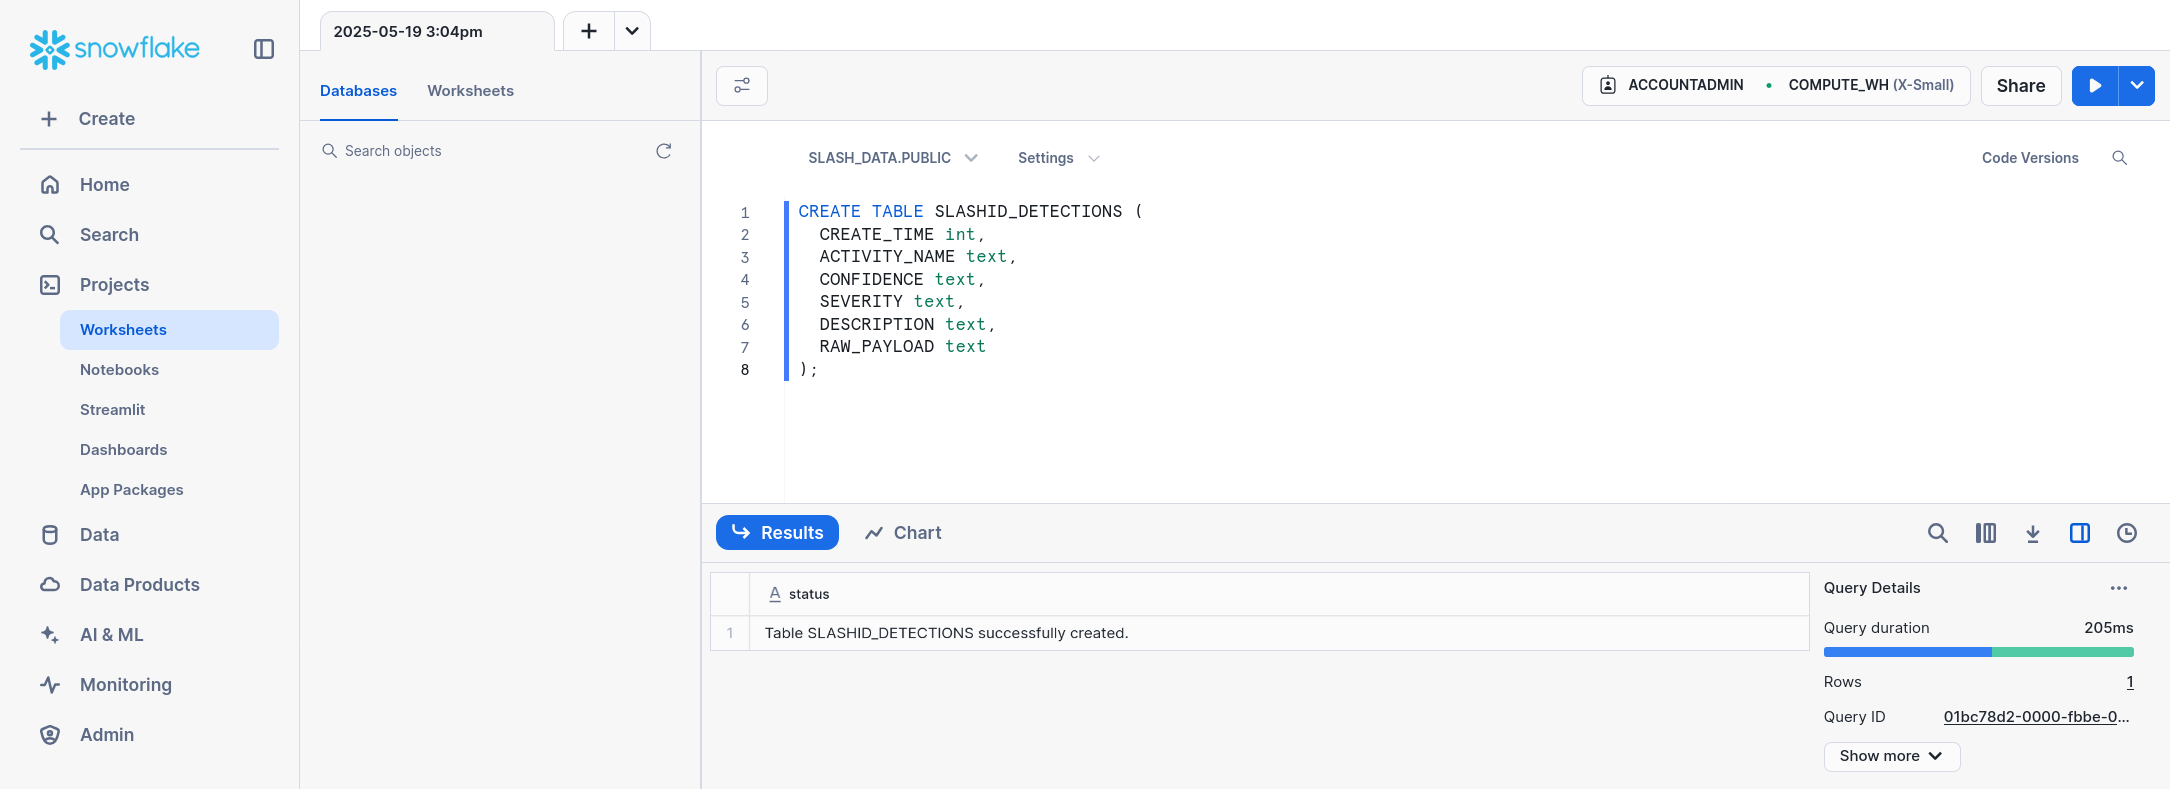
You can create the table by running the following query on the target warehouse, database, and schema:
CREATE TABLE SLASHID_DETECTIONS (
  CREATE_TIME    int,
  ACTIVITY_NAME  text,
  CONFIDENCE     text,
  SEVERITY       text,
  DESCRIPTION    text,
  RAW_PAYLOAD    text
);
This table will be populated with SlashID detections in the OCSF format.
Step 6: SlashID Console configuration
Go to the SlashID Console > 'Identity Protection' > 'Configuration' > 'Integrations'. Click on 'Add integration' on the right.
Select 'Snowflake' from the list of providers in the drop-down menu.
Fill in the integration details:
| SlashID Console field | Description |
|---|---|
| Base URL | Your Snowflake login url (e.g., {LOCATOR.REGION.PLATFORM}.snowflakecomputing.com) |
| Snowflake account identifier | Your Snowflake account identifier |
| Snowflake username | Your Snowflake account username |
| Private key | Your RSA private key |
| Role | The role you used to grant permissions to the service account |
| Database name | The database your table belongs to |
| Schema | The schema of your database table |
| Warehouse | The warehouse of your database table |
| Table name | The name of your database table |
Select the type and severity of the detections you want to push to Snowflake. If you don't select any filters, all detections will be pushed.
Click on the Connect button to complete the setup.